
This guide is only for clients who are on our fully managed plan and also are assigned a Microsoft E3 License. Please talk to your support rep if you are unsure if this guide is for you.
- Power on the new computer.
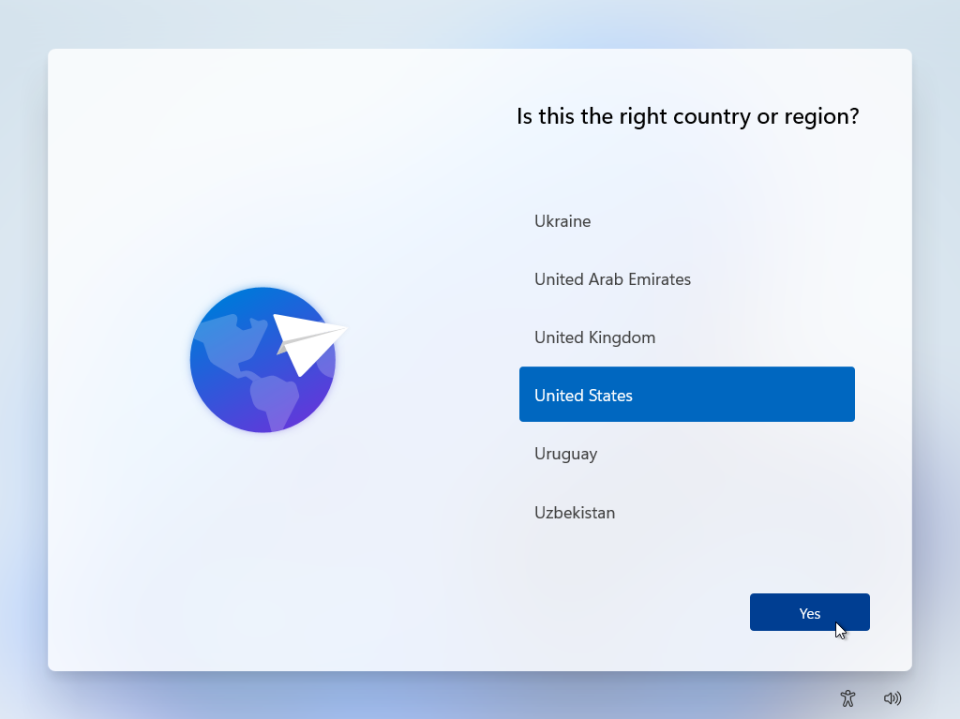
- Select the region and click Yes
- Select your keyboard layout and click Yes

- If asked for an alternative keyboard click Skip

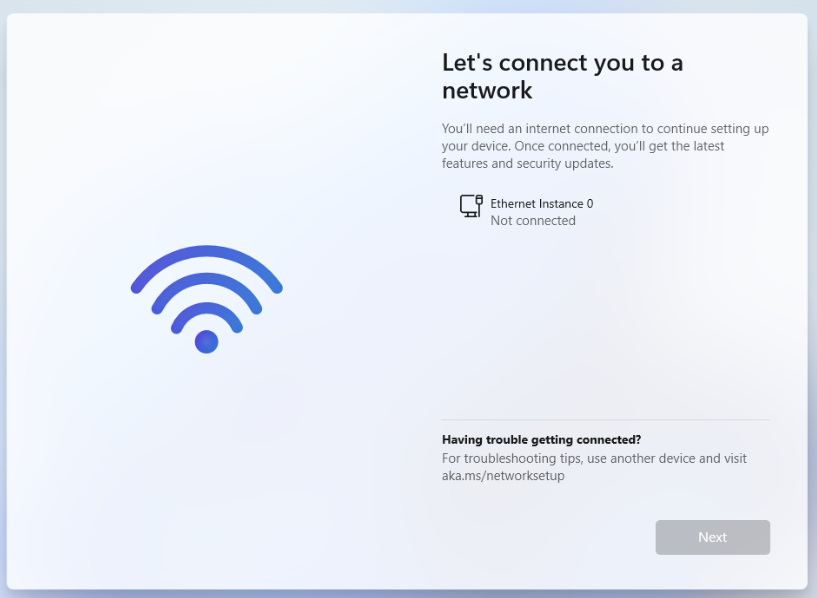
- You MUST be connected to the internet, either to a wireless network or ethernet cable before you continue, if you are home, use your home WIFI for this step. You may need to click Next.
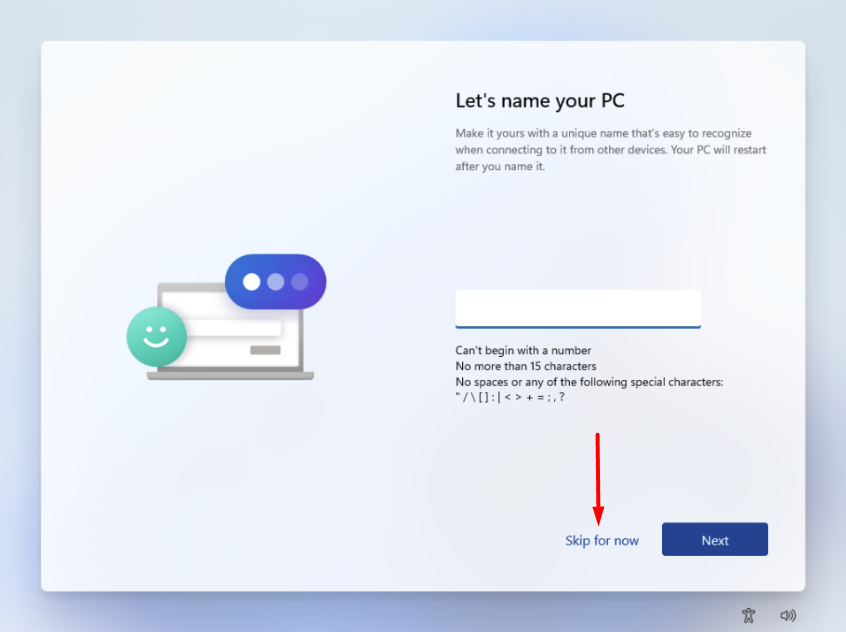
- You can name the computer or just hit skip. All computers get renamed once we onboard them anyways.
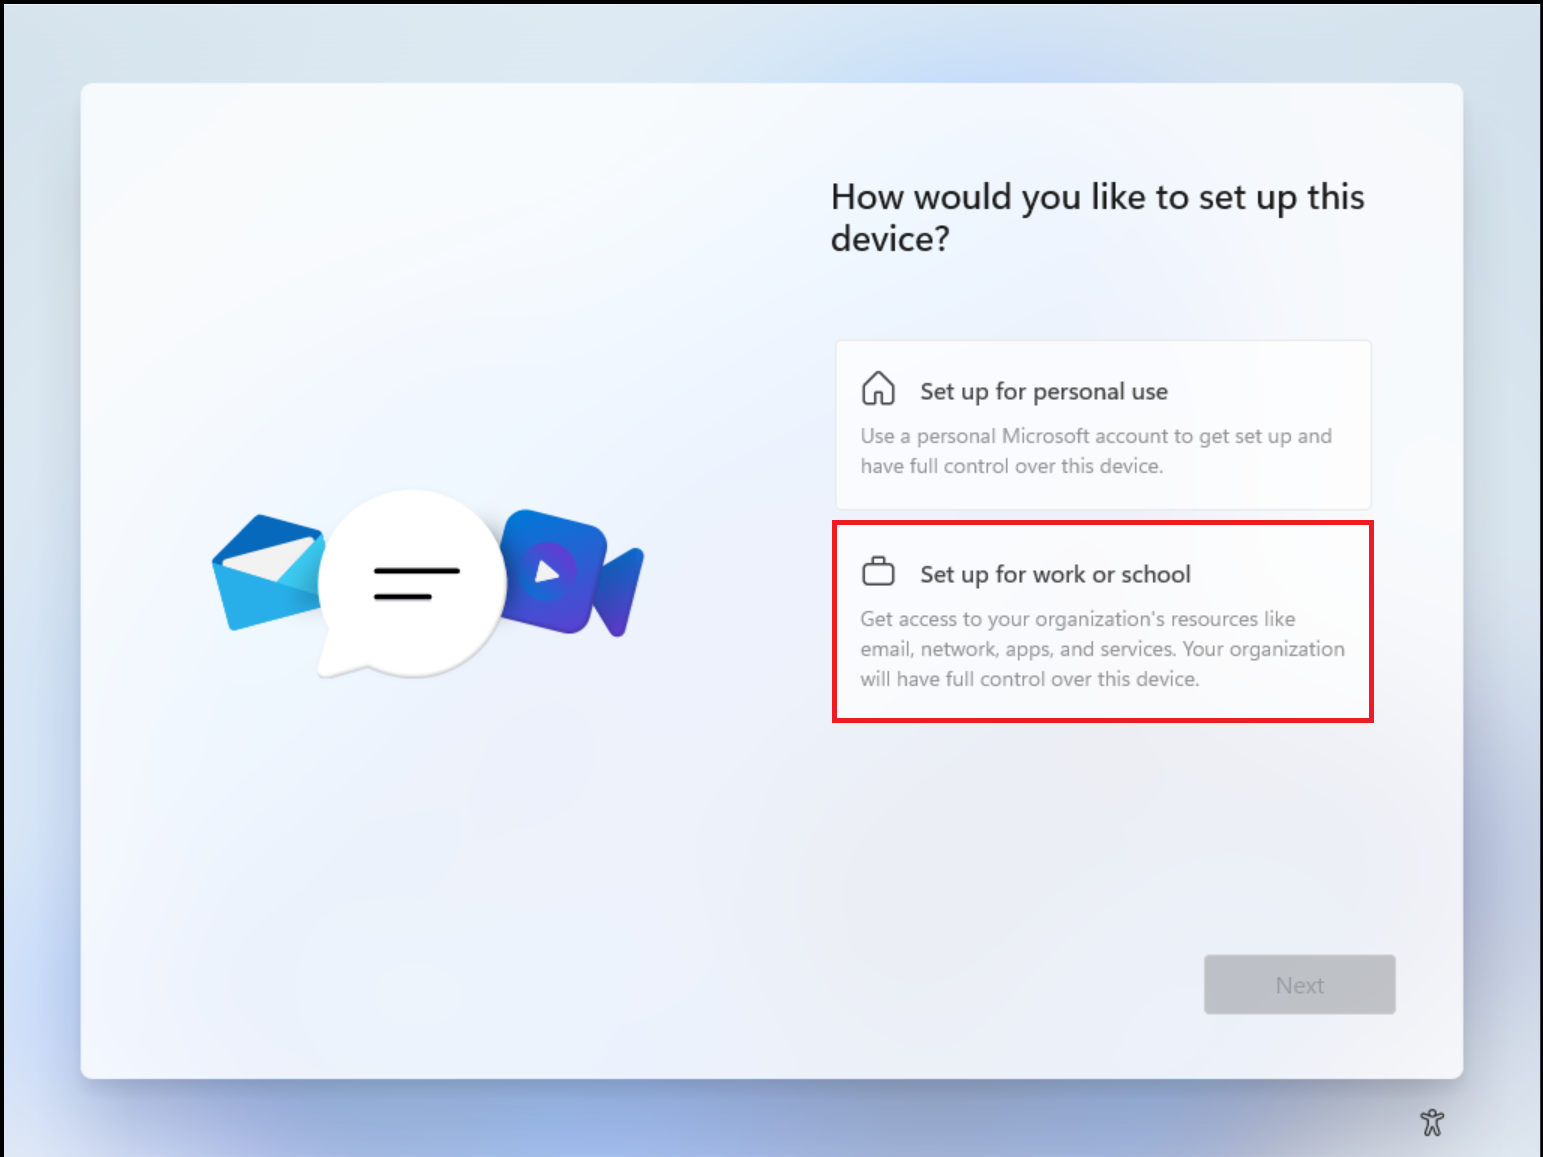
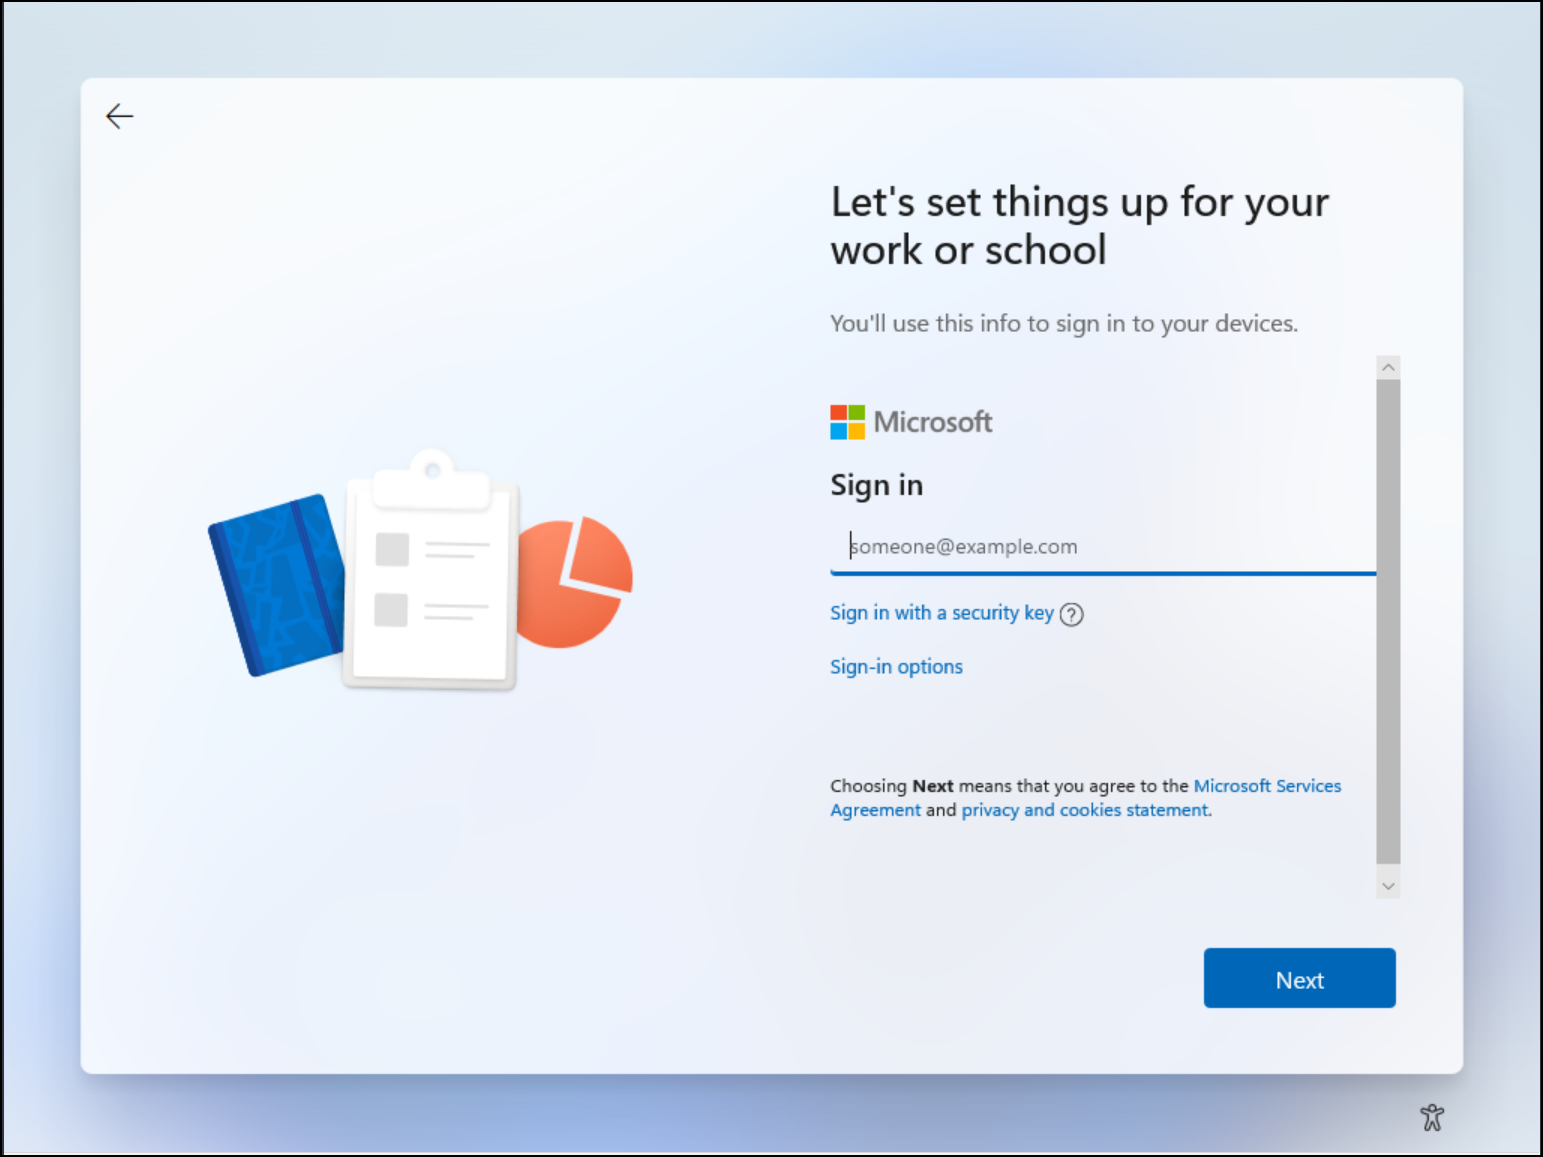
- Select "Setup for work or school" click next
- Fill in your email address and password. If this is your first time setting up an account, follow the prompts/instructions to set up Microsoft Authenticator on your Phone.
- Follow the prompts till you are at your desktop. If you are asked to fill in information for the manufacture, fill in YOUR information.
- Office and Outlook should automatically configure and get installed. This may take a few minutes since it is based on your internet connection.
- You MUSY call us to setup your full onboarding on the computer at this point. We will help get everything configured to company specs and security standards. You can contact us via phone: 937-660-4899 or email support@layer2computers.com
Once this is all done the computer should bring you to your main desktop screen. From there please wait till your schedule remote appointment to continue with the setup of your computer. If you do not have an appointment already scheduled, email support@layer2computers.com to get scheduled with us.


